


How to Change a Bathroom Tub Faucet
-

- 11 April, 2023
A bathroom tub faucet can make a huge difference in the overall look and functionality of your bathroom. If your faucet is outdated, damaged or simply not functioning properly, it’s time to replace it. But don’t worry, changing a bathroom tub faucet is a relatively easy DIY project that can be done in just a few hours. In this guide, we’ll walk you through the steps to change your bathroom tub faucet.
Tools and Materials Needed to Change a Bathroom Tub Faucet
To change your bathroom tub faucet, you will need the following tools and supplies:
- Adjustable wrench – Used to loosen and tighten the nuts that connect the faucet handles and stem to the valve cartridge and valve body.
- Pliers – Helpful for gripping and turning stuck nuts.
- Bucket – Place under the faucet stem to catch any remaining water in the pipe.
- New faucet – Choose from single handle, 4-inch spread or 8-inch spread styles. Ensure it matches the number of holes in your tub.
- Pipe tape – Wrap pipe threads before screwing on nuts to prevent leaks.
- Tubing cutter – Can be used to cut the new tubing included with your faucet.
- Rag – Wipe up any excess putty, caulk, or debris around the tub holes and base.
How to Change a Bathroom Tub Faucet
- Step 1. Turn off the water supply to the tub. Use the bucket to wipe up/release any residual pressure.
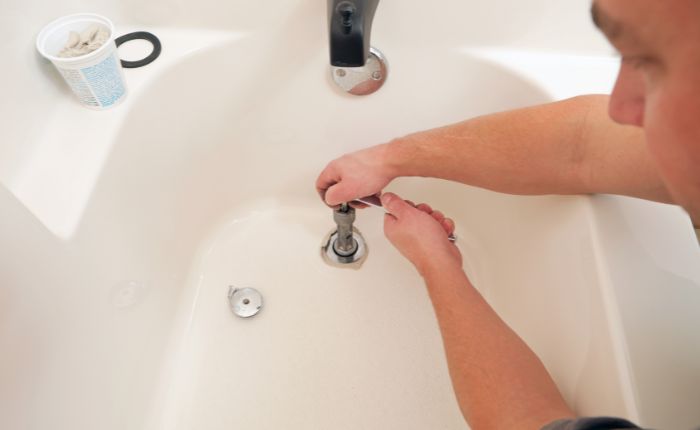
- Step 2. Remove the mounting nuts that hold the faucet handles and stem in place. This may require pliers to turn stubborn nuts. Set aside for reassembly.
- Step 3. Remove any remaining threads or putty residue from the valve stem pipe. Use a putty knife or wire to scrape out debris. Wipe clean with a rag.
- Step 4. Wrap the threads of the valve stem pipe with pipe tape. This will ensure a watertight seal.
- Step 5. Thread the new faucet onto the valve stem pipes and hand-tighten the mounting nuts.
- Step 6. Tighten the mounting nuts in an alternating pattern with the adjustable wrench until snug.
- Step 7. Check for leaks around all connections before turning the water back on. Tighten nuts further if needed.
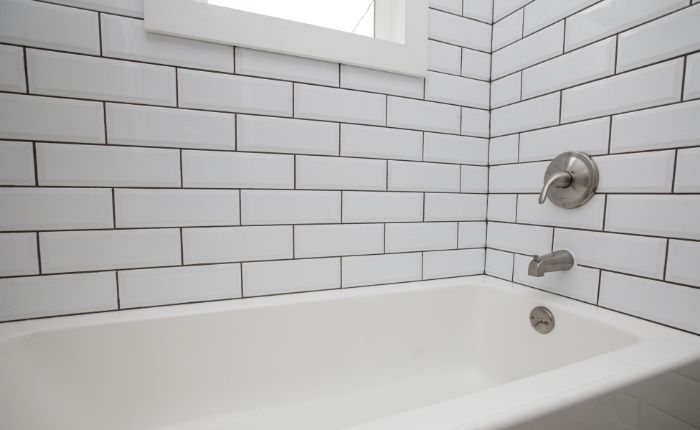
- Step 8. Once leak-free, your new tub faucet is ready to use. Enjoy your refreshed bathroom! Let me know if you have any other questions.
Conclusion
Changing a bathroom tub faucet is a simple and cost-effective way to upgrade your bathroom’s look and functionality. With the right tools and some basic plumbing knowledge, you can easily replace your old faucet with a new one. Follow the steps outlined in this guide, and you’ll have a new faucet installed in no time. Enjoy your new and improved bathroom!